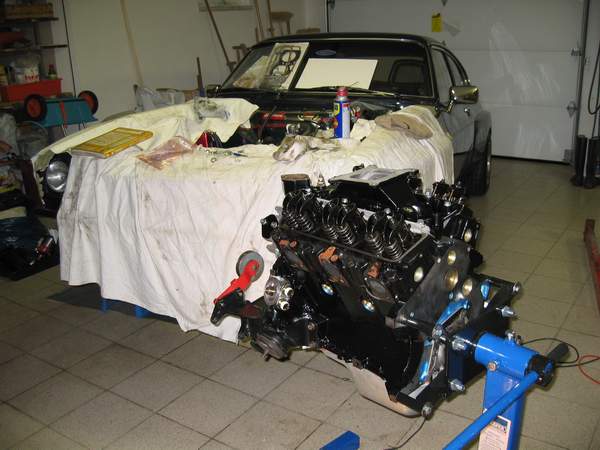
PROJECT 200 HP
Here you can see muscle building of my 3.1V6 Essex engine in 2008 year. Most of these steps were uprated - heads, inlet manifold, cam, lambda sensor, etc. up to present day.
Goal is the increasing power level from the standard 138 HP/240 Nm to the 200 HP/300 Nm (ideally 210 HP/320 Nm). This engine is building for Fast Road and Track day use. The brakes and suspension upgrade goes at the parallel.
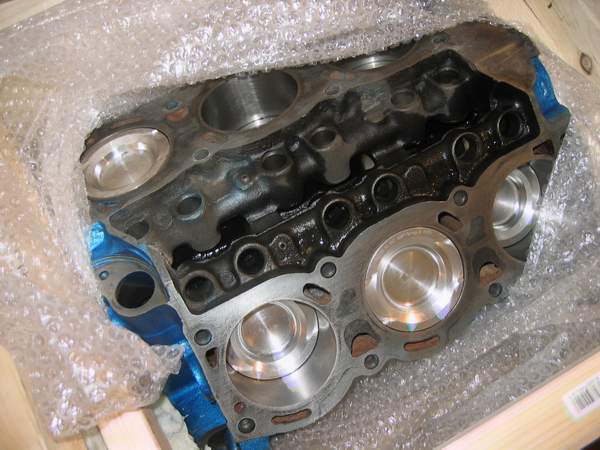
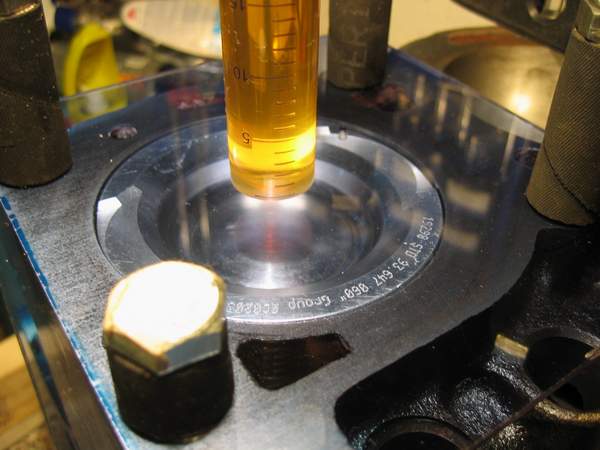
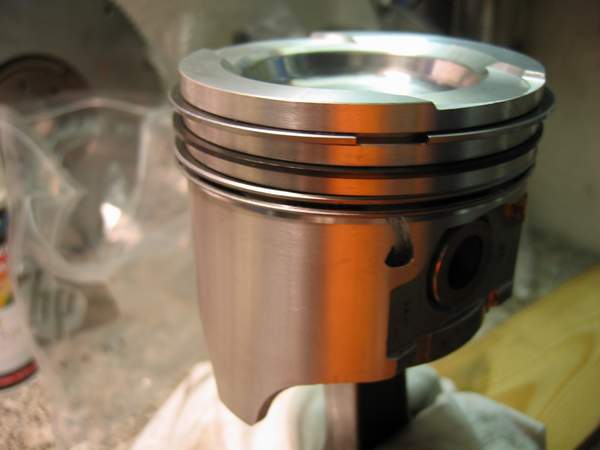
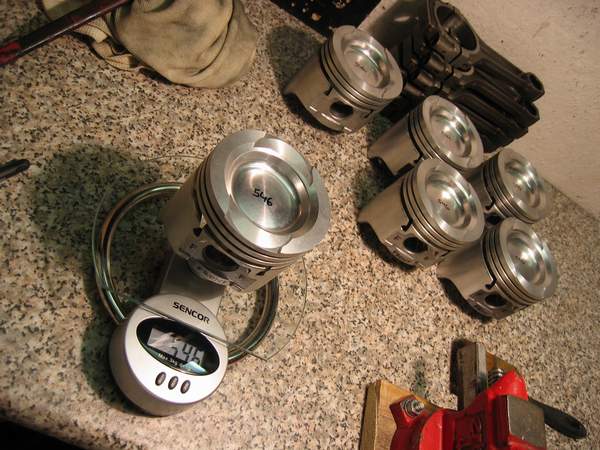
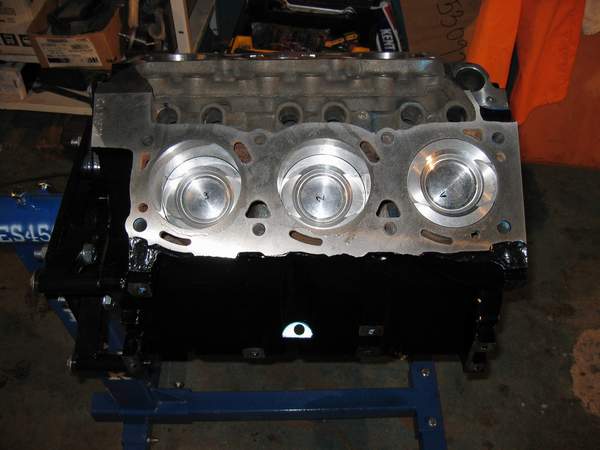
I bought reconditioned short engine with the new bearings and +60 pistons (standard compression ratio 8.9:1) from UK engine builder. Higher compression 10.1:1 Hepolite Powermax pistons are out of production and sold out for many years. So i decided for lowering pistons and engine block, the resolution is the compression around 10.5:1 and cylinders capacity 3060 ccm.
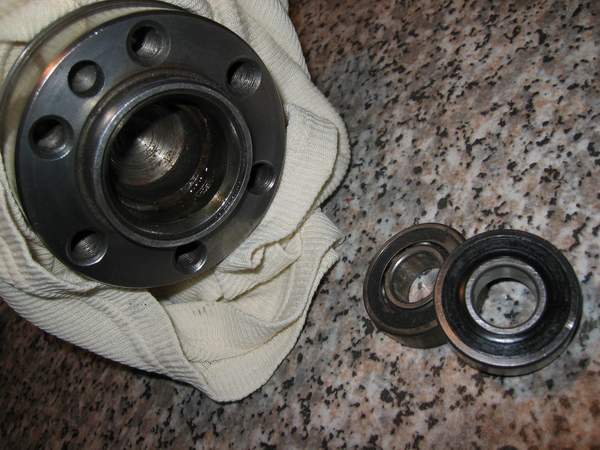
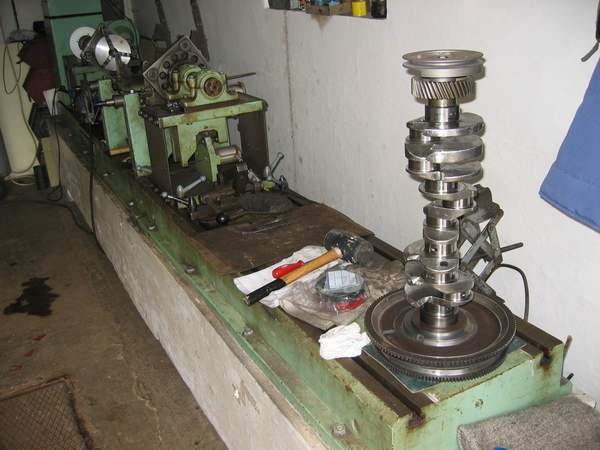
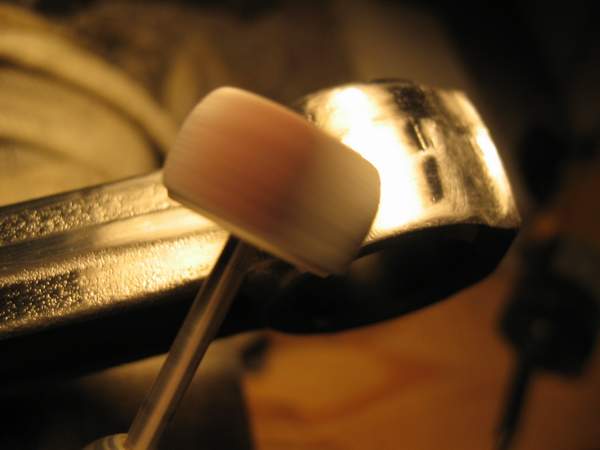
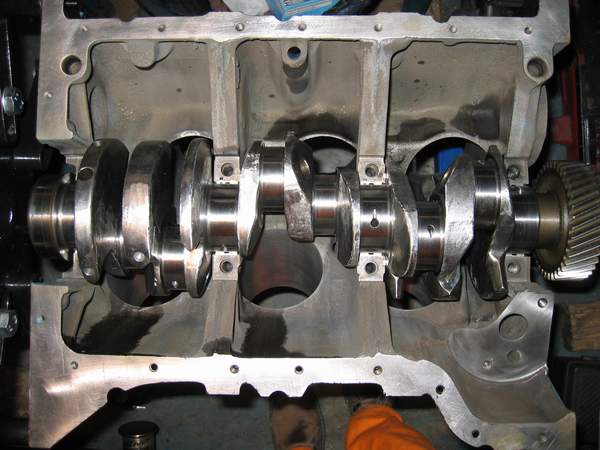
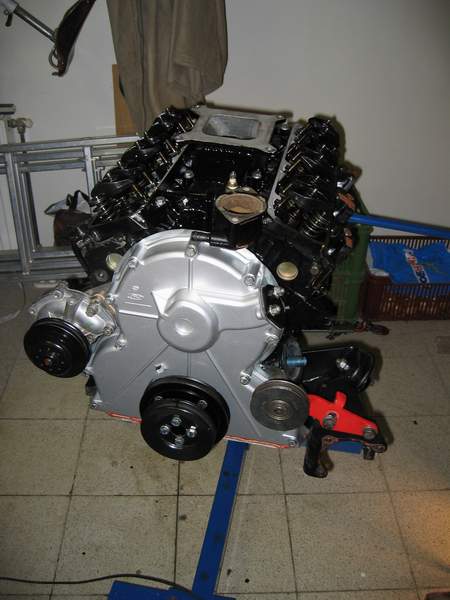
The next step was modification and polishing of the crankshaft, flywheel lightening and balancing.

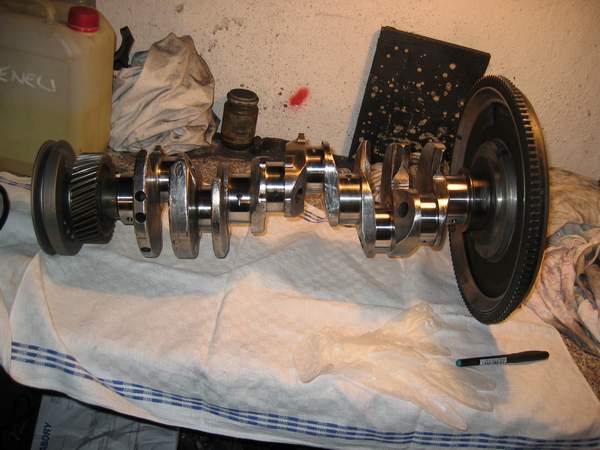
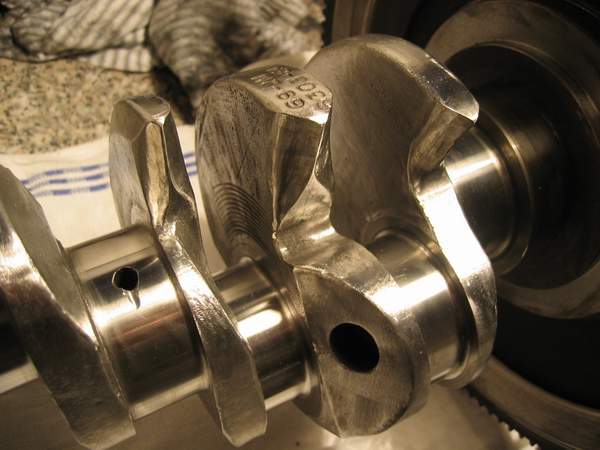
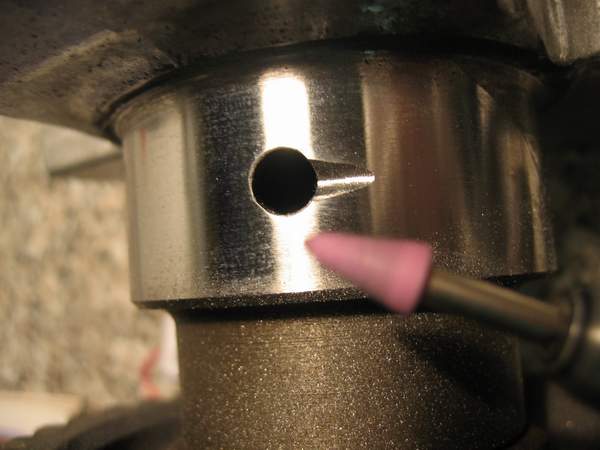
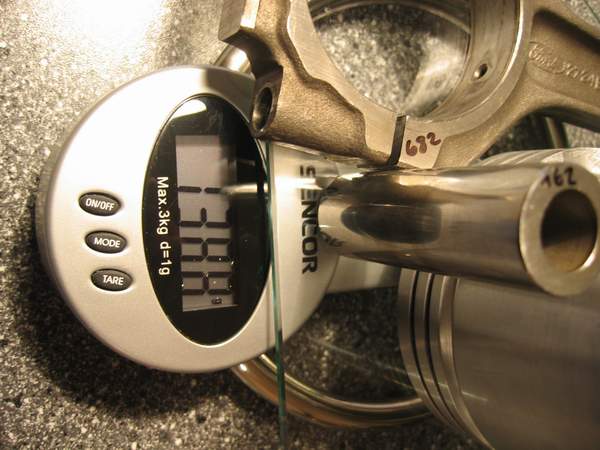
Conrods are polished too, every part was equilibrated.
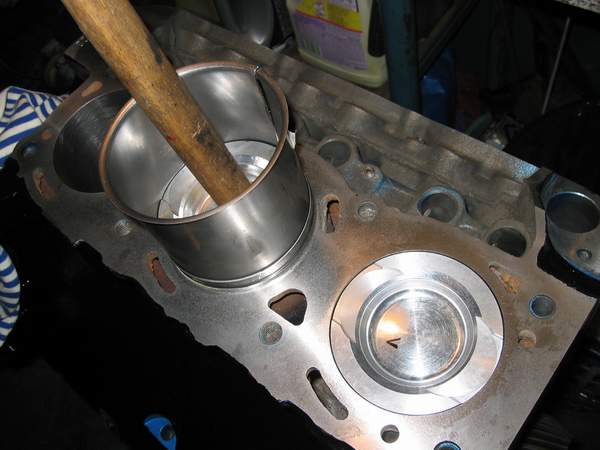
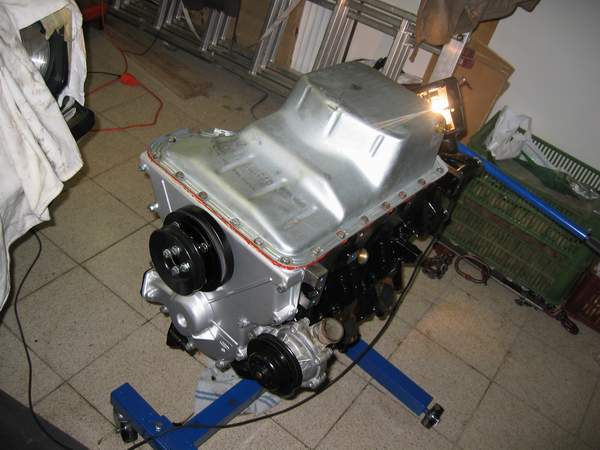
Process of the fitting crankshaft and pistons back to the block.


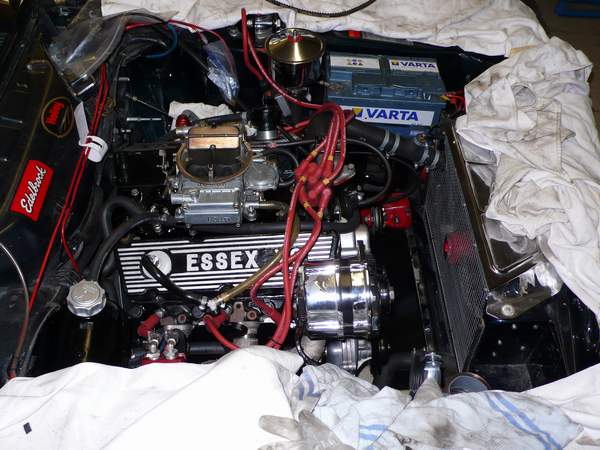
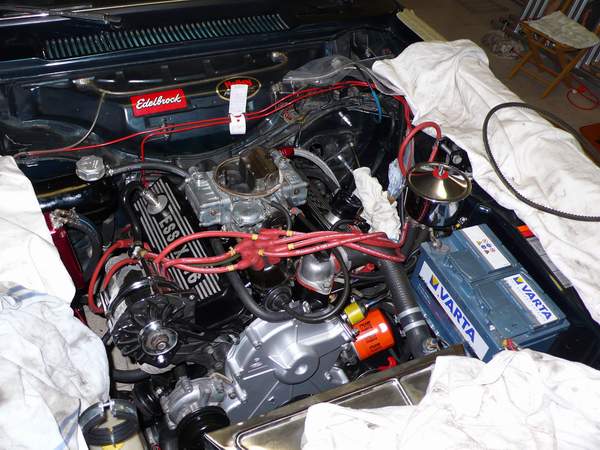
3. Heads, inlet manifold, carburettor
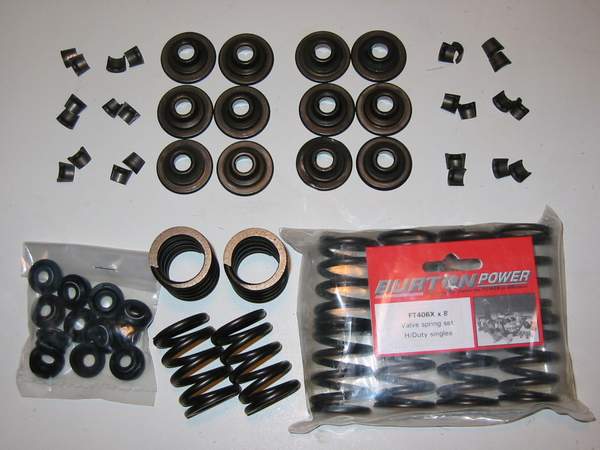
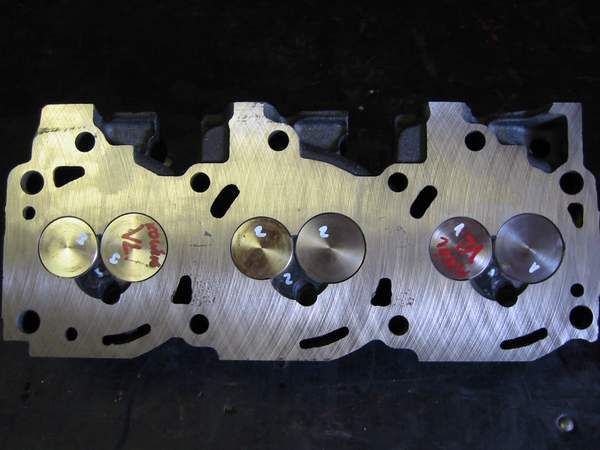
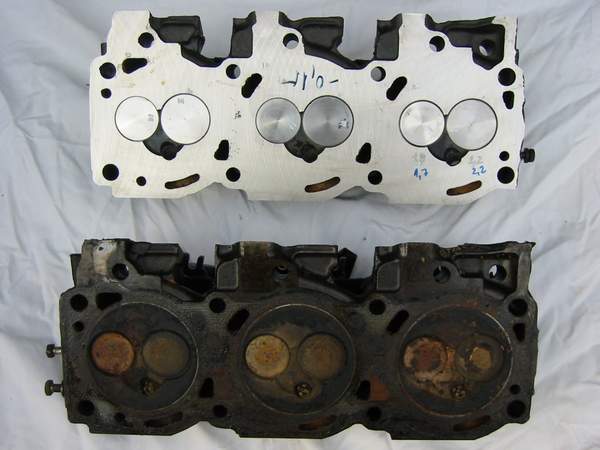
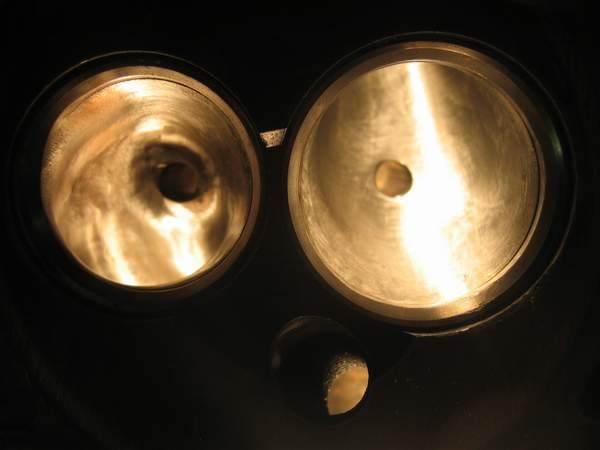
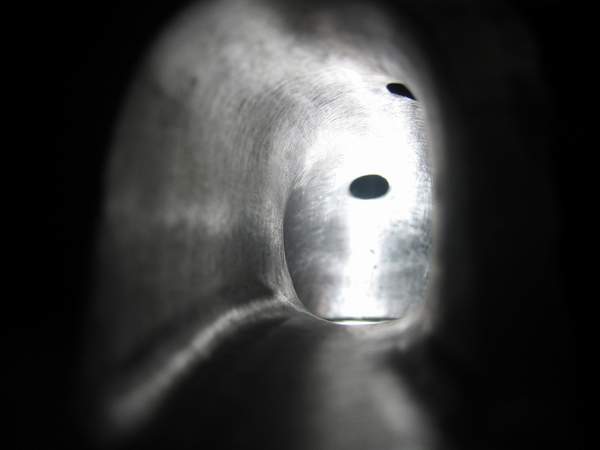
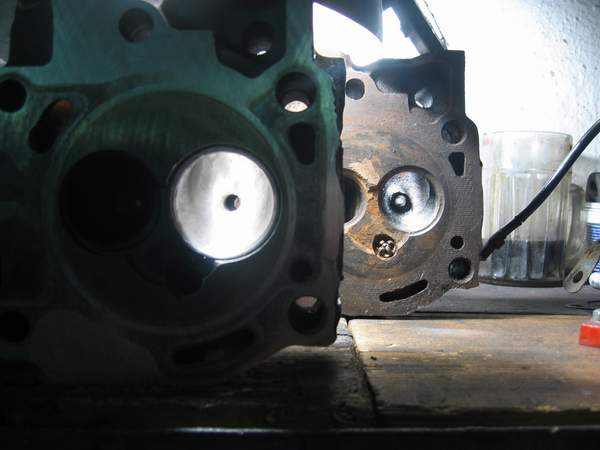
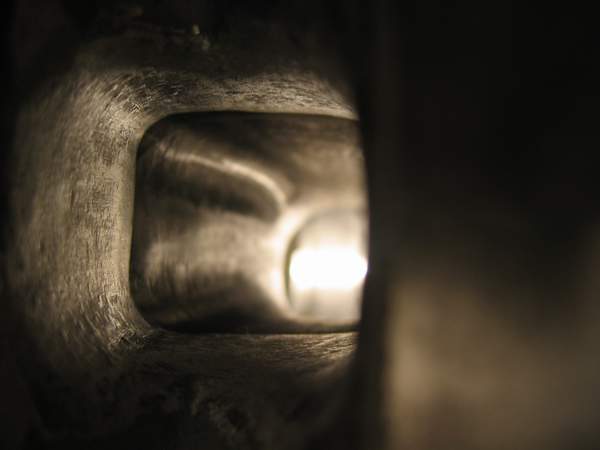
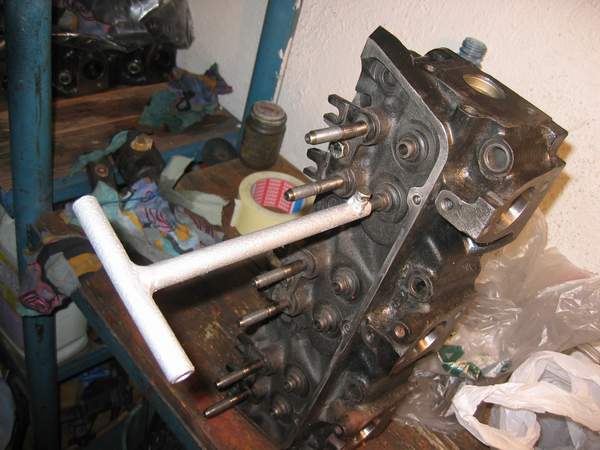
The cylinder heads are ported and polished with unleaded conversion, valves are stage 4.


|
Inlet valve |
Outlet valve |
|
| stage 1: standard Essex | 41.00 mm | 37.00 mm |
| stage 3: Essex X-pack | 44.50 mm | 41.30 mm |
| stage 4: my Essex | 46.25 mm | 41.30 mm |

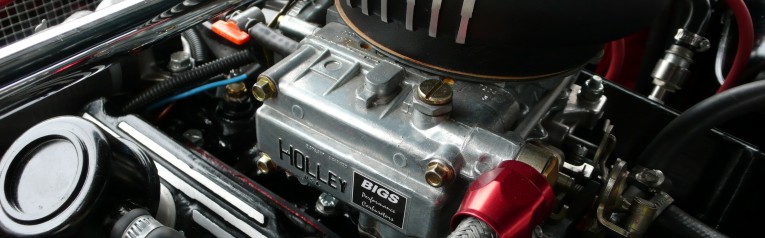
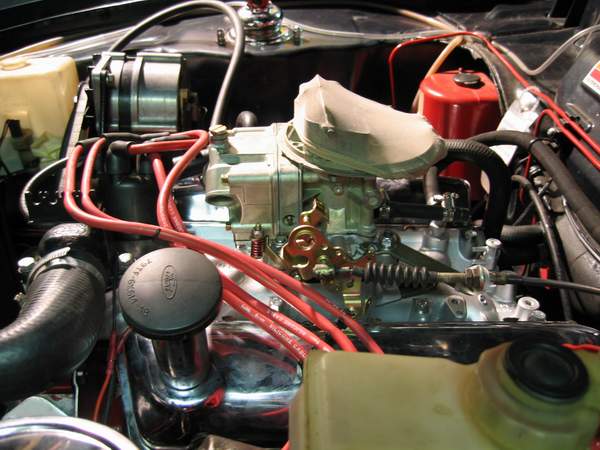
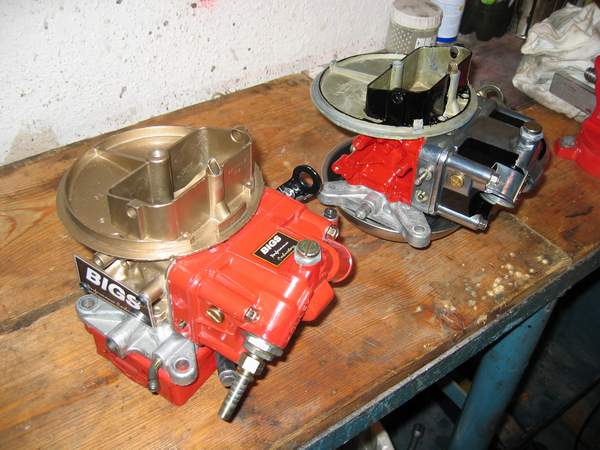
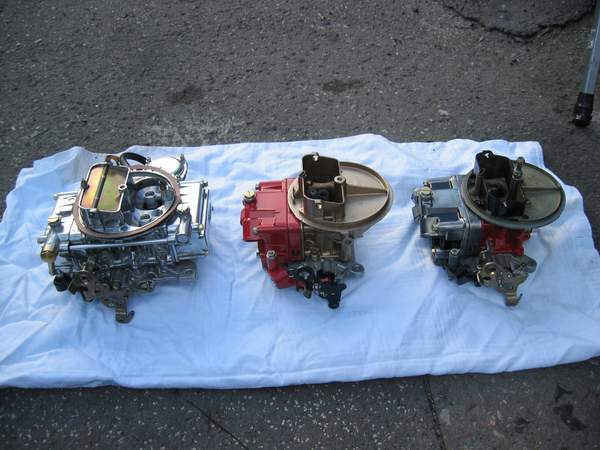
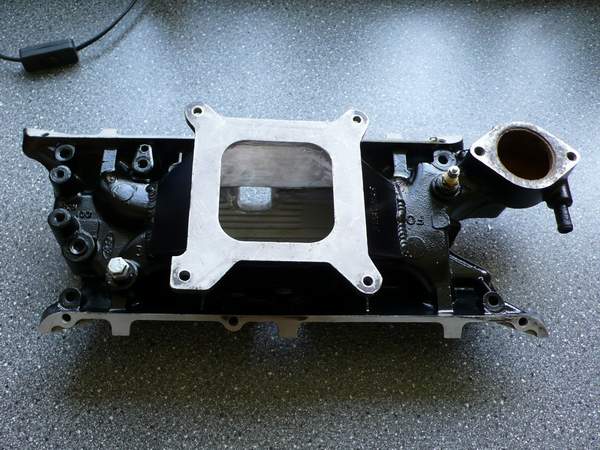
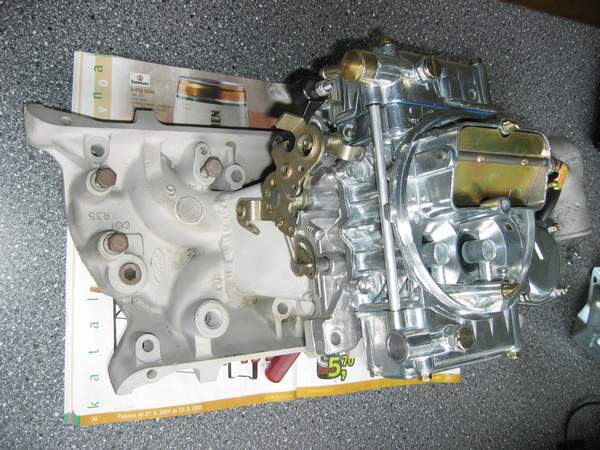
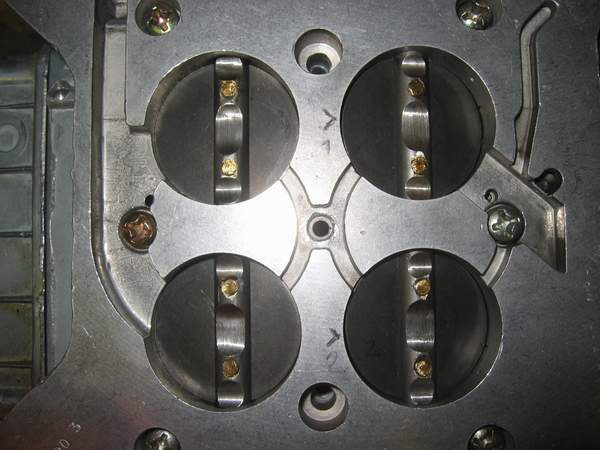
OEM Weber carburettor 38DGAS with bigger jets has limit around 170-180 HP level, so I replaced it by Holley 350, later Holley 500 and the final state is the Swaymar 4-bbl inlet manifold with correctly jetted and uprated Holley 390 carburettor.

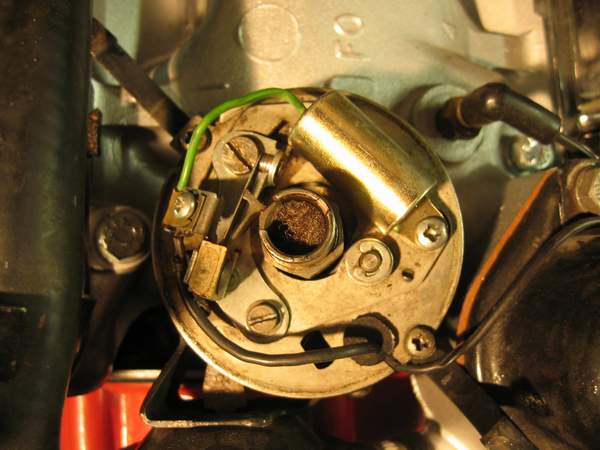
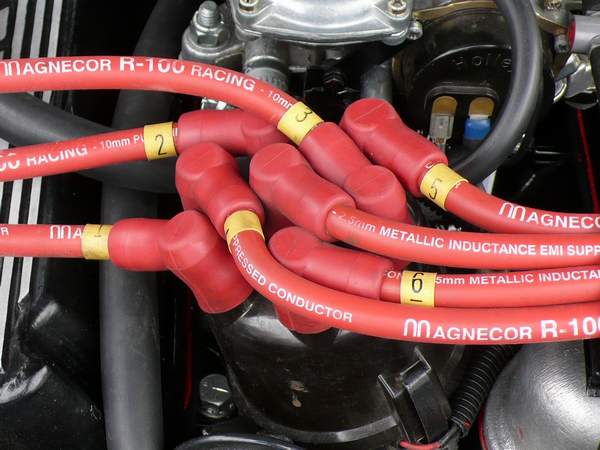
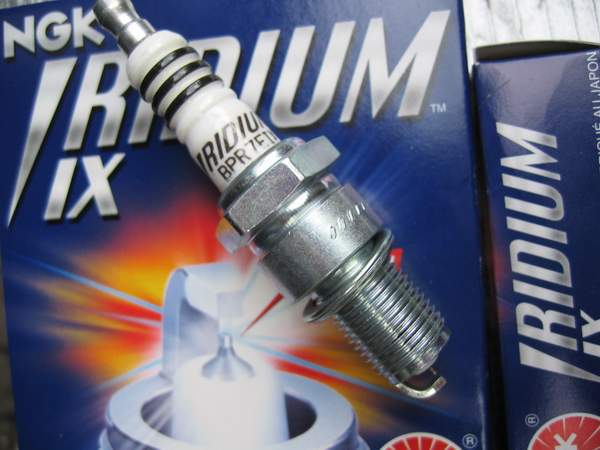
Standard Motorcraft distributor is more than tragical and real Achilles heel of the Essex engine, so I decided to replace classic contact breaker by Lumenition Optronic system. For the reach of the quality spark I bought Magnecor 10 mm cables and NGK Iridium spark plugs.


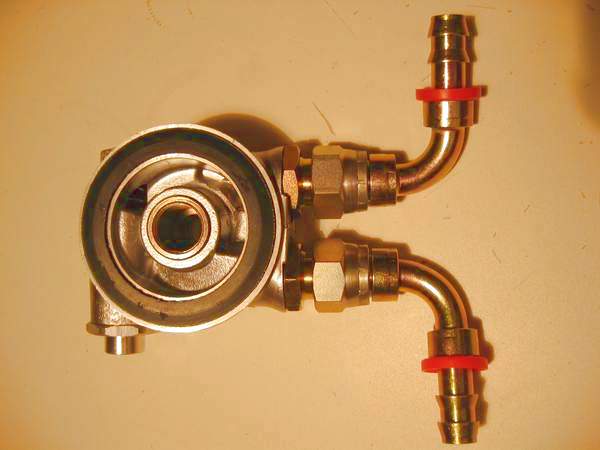
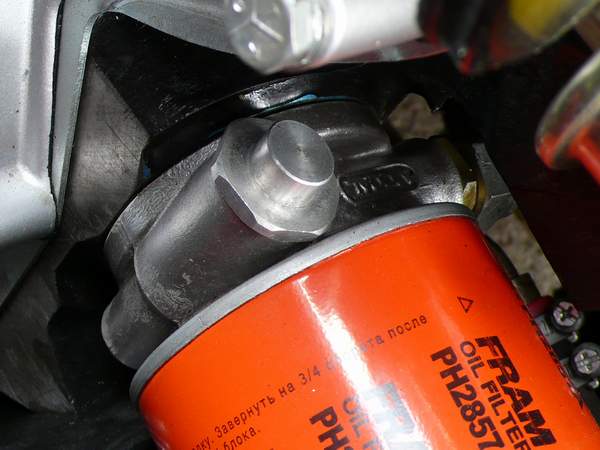
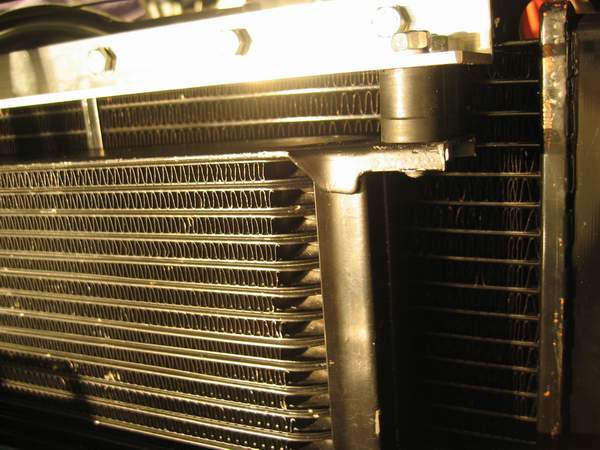
OEM oil pump was replaced by high-pressure one. Have a Mocal oil radiator with thermoblock, which opens at the 80°C


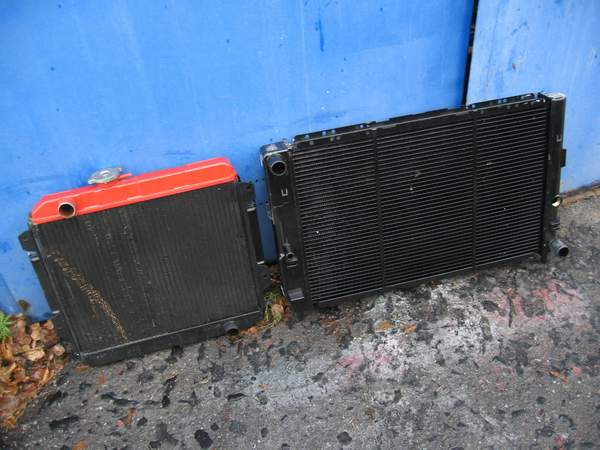
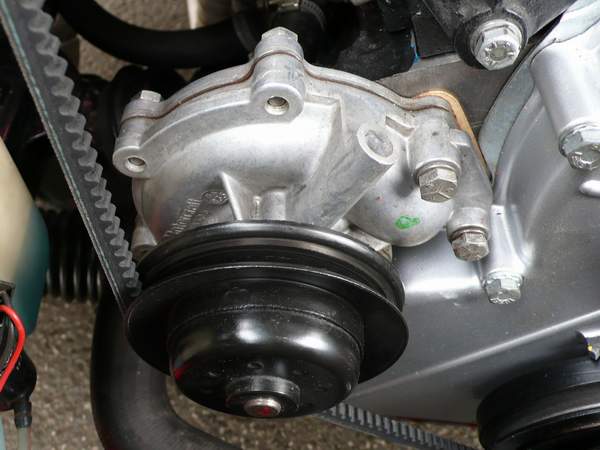
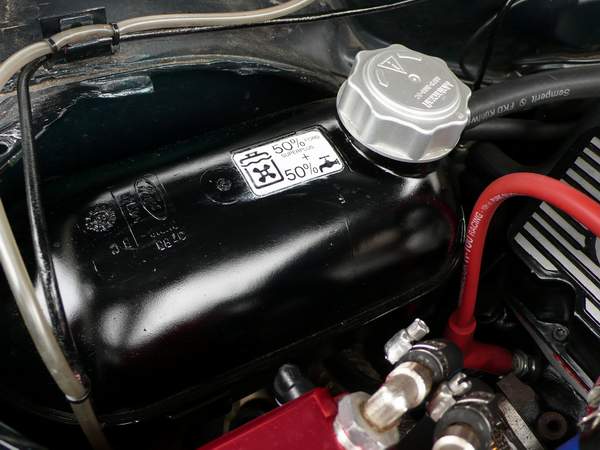
6. Water temperature
Current water-cooling system was replaced by new radiator from Sierra XR4i (much bigger), new pump and expansion tank.
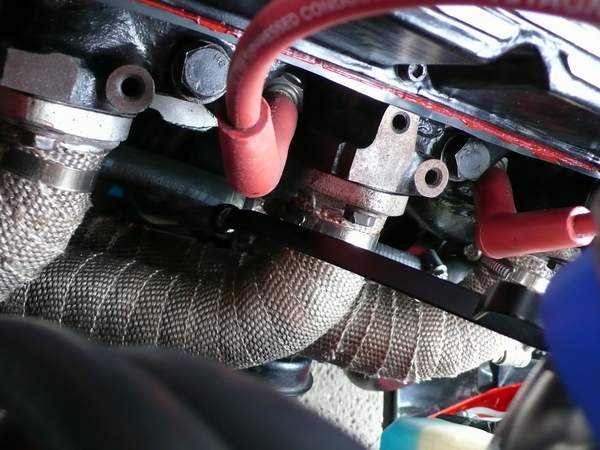
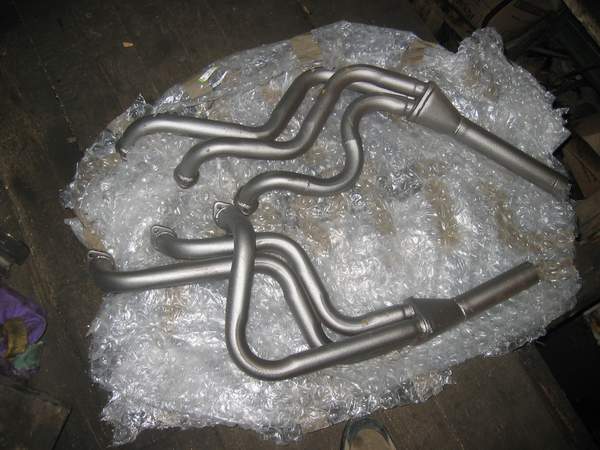
7. Exhaust manifolds and system

 I
decided for Janspeed, number one on the market. Systems from Ashley or Sportex
seems to be so loud. For decrease of the under-bonnet temperature I wrapped
headers by themo-isolation tape from ThermoTec which
reduces under-bonnet heat up to 70%. Lower temperature, better fuel economy,
higher performance.
I
decided for Janspeed, number one on the market. Systems from Ashley or Sportex
seems to be so loud. For decrease of the under-bonnet temperature I wrapped
headers by themo-isolation tape from ThermoTec which
reduces under-bonnet heat up to 70%. Lower temperature, better fuel economy,
higher performance.
8. Electric fuel pump
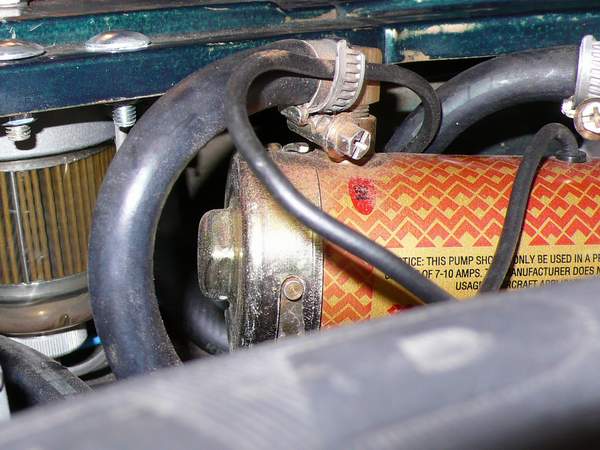 The
classic mechanical pump has limit so I replaced it by Pacet Silver Top
cylindrical pump. Pressure regulator from filter King was added. Both are under
luggage cover, beside spare wheel.
The
classic mechanical pump has limit so I replaced it by Pacet Silver Top
cylindrical pump. Pressure regulator from filter King was added. Both are under
luggage cover, beside spare wheel.
9. Indicators
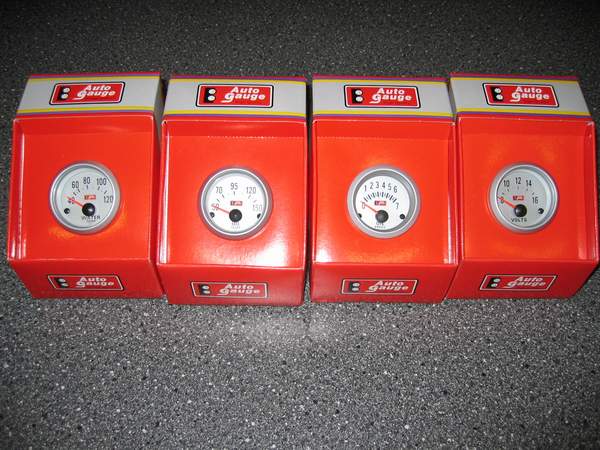
 Indicators
are necessary in case of the tuned engine. Temperatures and pressures must be
under control in high revs (during track day, etc..).
Indicators
are necessary in case of the tuned engine. Temperatures and pressures must be
under control in high revs (during track day, etc..).
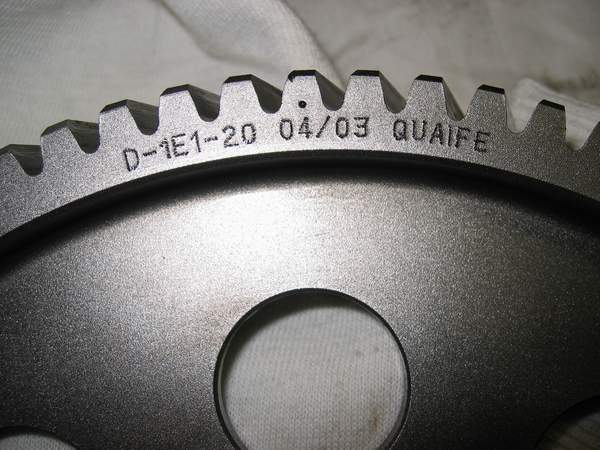
10. Cam Timing

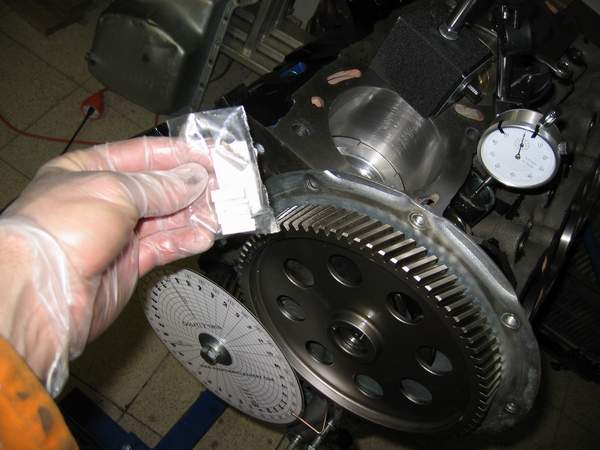 Here
you can see the engine's cam being timed. Traditionally, a protractor is used to
set the cam to the correct position. The cam manufacturer will recommend a
certain number of degrees it needs to be set at - so a special 360º protractor,
a wire pointer, and a dti gauge are required, along with a set of offset
woodruff keys 1°-5° to allow the adjustment
Here
you can see the engine's cam being timed. Traditionally, a protractor is used to
set the cam to the correct position. The cam manufacturer will recommend a
certain number of degrees it needs to be set at - so a special 360º protractor,
a wire pointer, and a dti gauge are required, along with a set of offset
woodruff keys 1°-5° to allow the adjustment
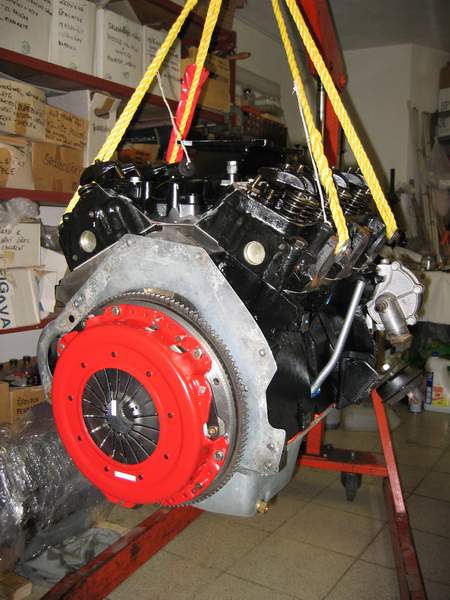
11. Clutch
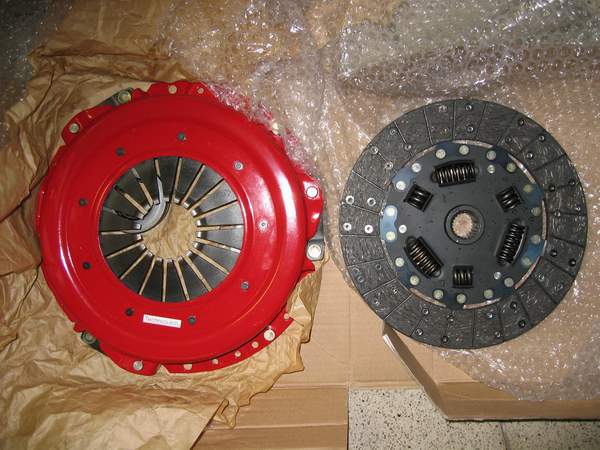 The
current clutch was in very good condition, but I decided to use new, organic Fast Road
clutch from UK company Techni Clutch.
The
current clutch was in very good condition, but I decided to use new, organic Fast Road
clutch from UK company Techni Clutch.
12. Final procedures
Great helper during assembling is the engine stand. You can work with the engine and rotate with it without labour. The next one is the engine crane. Engine fitting to the engine bay can manage just one person.

here you can see videos from the first start up
and video from highway during the engine running-in (0-200 km/h)
